Building Detectives @ Home
This lesson uses resources from Landmark West’s Building Detectives program and Chapter 2 of our award-winning My Preservation Journal. This lesson targets all elementary school grades – it can easily be adapted to all skill levels! Simply click the menus below to access additional information.

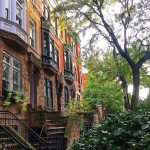
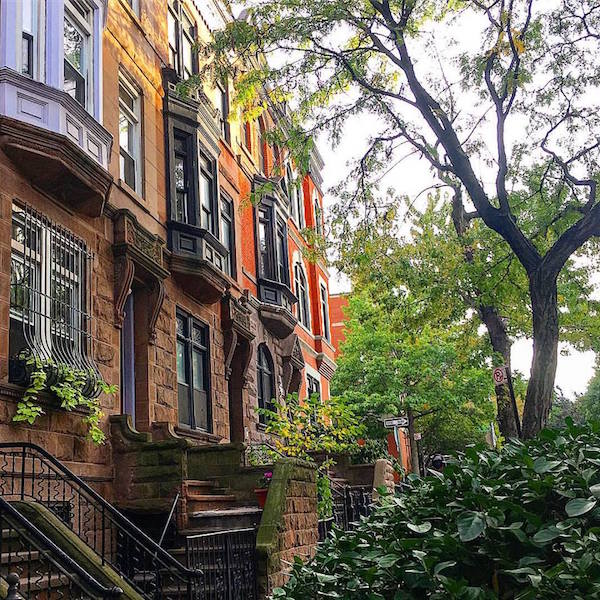
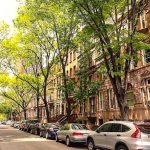
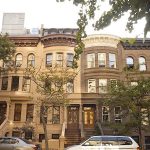
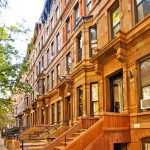
Brownstones grace the streets of the Upper West Side
What do we know about brownstones?
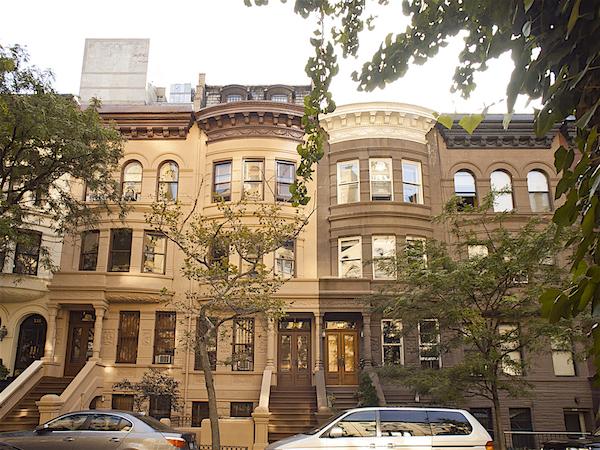
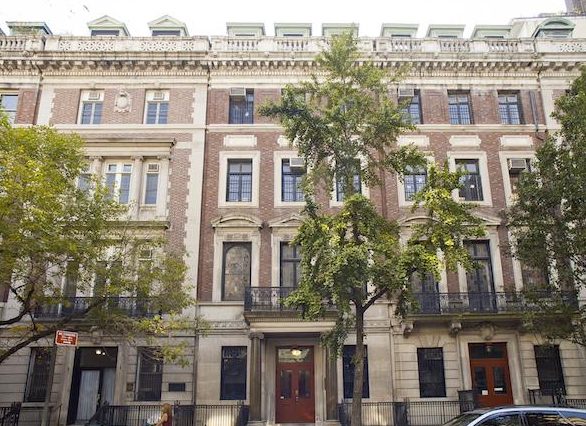
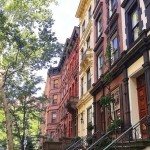
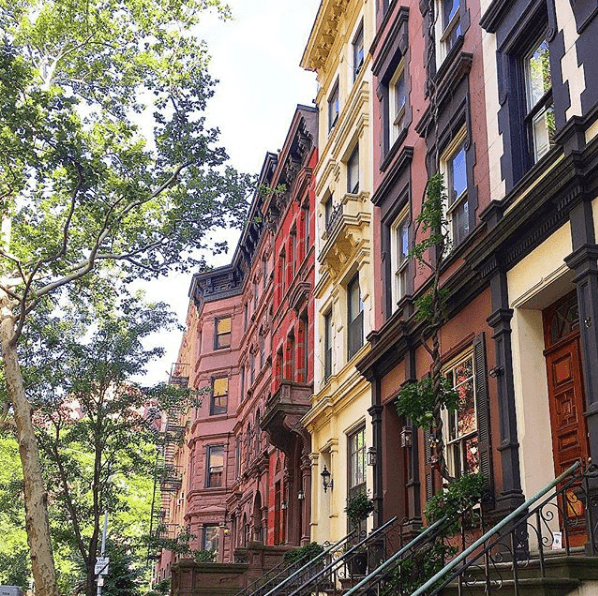
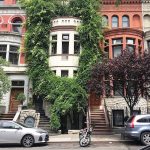
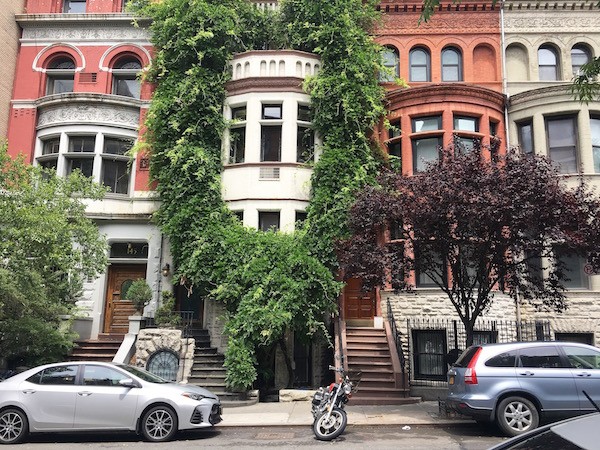
When we’re in the classroom we start with a group discussion on what we already know about brownstones. What do you know? Make a quick list of things you already know. To help, check out these pictures of brownstones we find on the Upper West Side.
-
- West 106th Street
-
- West 69th Street

-
- West 71st Street
-
- West 78th Street
-
- West 81st Street
-
- West 88th Street
-
- West 89th Street
Brownstones were first built in New York City f the 1870’s to the 1890’s. They’re also known as “rowhouses” because…they’re usually built in a row! The Upper West Side is a great place to find them as well as parts of Brooklyn and Harlem. The Landmark Preservation Commission put together this interactive Story Map for the Central Harlem Historic District which showcases its beautiful brownstones.
The word “brownstone” refers to the façade of the building. The actual building itself is made of brick like many other buildings and then covered with stone. The stone itself is “sandstone” and even though we call it “brownstone,” it comes in many colors: pink, red, orange, or purple-ish, depending on the mineral and clay in the stone. The stone is very old—it was formed millions of years ago during the Triassic and Jurassic periods—that’s the time of the dinosaurs! The stone used in New York City was quarried from New Jersey and Connecticut, and came to the city via the Hudson River on barges and ships.
Almost all the people who carved this stone in the 1800’s were immigrants from countries like Germany. They were stone carvers and you can still see a lot of their work today when you see carvings like faces or leaves. Immigrants were a very important part of the city and the economy, and that’s still true today.
Using our Brownstone Facade worksheet, let’s learn the different parts of a brownstone – Use our Prezi video to learn the Parts of a Brownstone
Once you have finished the worksheet, check out our video below and draw your own! We’d love to see your drawings, so, if you’d like to, once you’ve done yours you can send them to us here at LandmarkWest! at education@landmarkwest.org or share your creations with us using the hashtag #kpf @landmarkwest on social media.
Get your pencils, paper and eraser ready! Watch our video to learn how we draw a brownstone in the classroom, and then try it yourself!
Sketching brownstone details
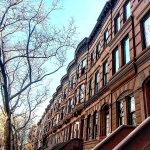
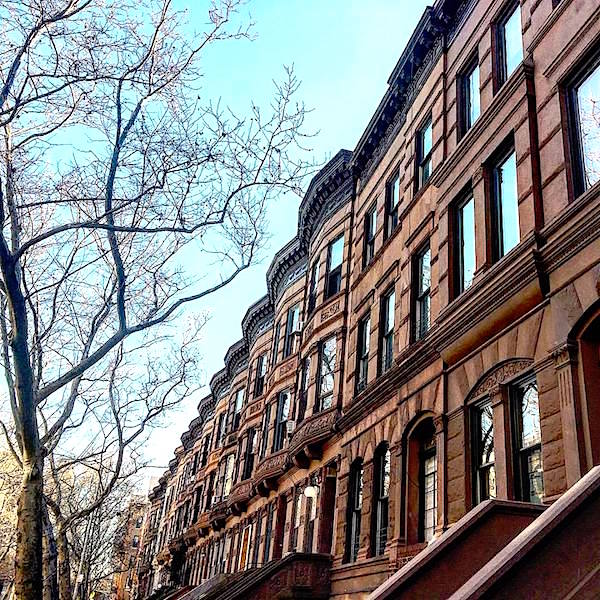
Typically we stretch our legs and walk the streets of the Upper West Side, searching for the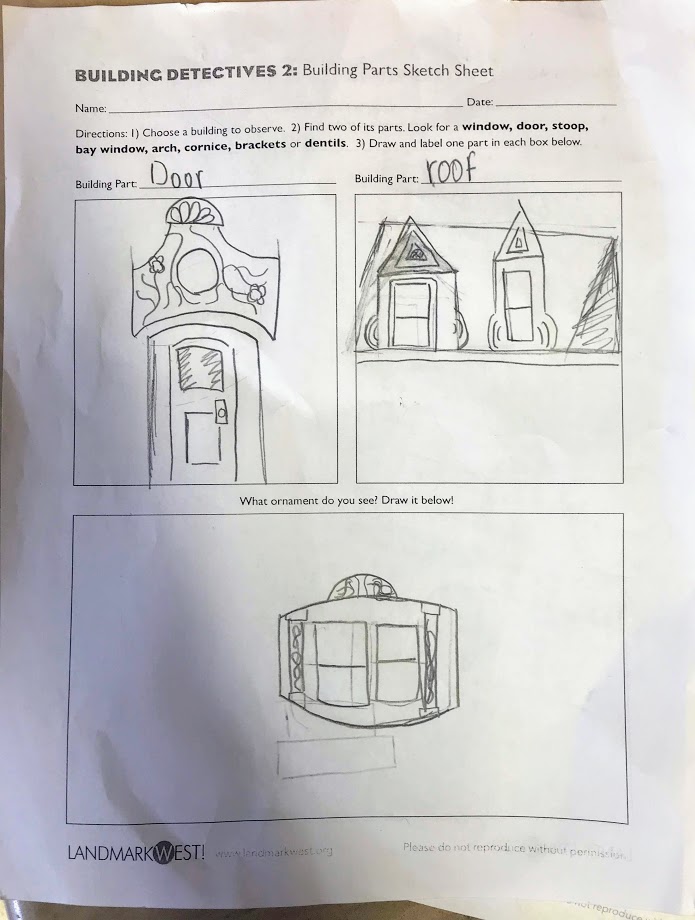 perfect location to stop and sketch brownstones. You still may be able to do this, taking account of proper social distancing of course, or you may have a view from your window instead. You could ‘roam’ the streets via Google Maps and, using its Street View images, find brownstones to draw.
Here are a few good spots we commonly use: West 95th Street, West 88th Street, West 85th Street, West 77th Street or West 78th Street.
Don’t forget that you can ‘turn around’ in Street View and also move up and down the street to find a brownstone you like the most. If you still can’t find a brownstone you’d like to draw, use one of the images above under ‘What do we know about Brownstones?’.
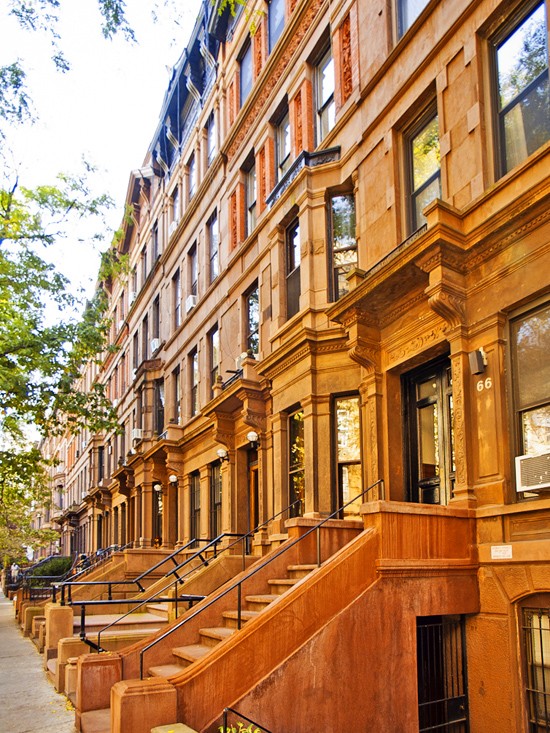
When you’ve found a brownstone to draw, download our Building Parts worksheet, and let’s get drawing! If you can’t print it at home, just use a blank sheet of paper instead.
So, what do you need to draw?
Firstly, find two of its parts that we learned earlier – look for a window, door, stoop, bay window, arch, cornice, brackets or the dentils – and draw them, one in each of the top boxes. Don’t forget to label each part! Secondly, chose an ornament that you can see on the building, and draw that in the bottom box. Your worksheet may look something like this one:
When you’ve done that, turn the page over and draw the WHOLE building! If you need help, remember to use the video we included, or the Brownstone Facade worksheet we used earlier.
We’d love to see your drawings, so, if you’d like to, once you’ve done yours you can send them to us here at LandmarkWest! at education@landmarkwest.org or share your creations with us using the hashtag #kpf @landmarkwest on social media.
Build your own brownstone!
Now we’re going to build our own brownstones, just like the ones in the pictures below (click on the image to enlarge).

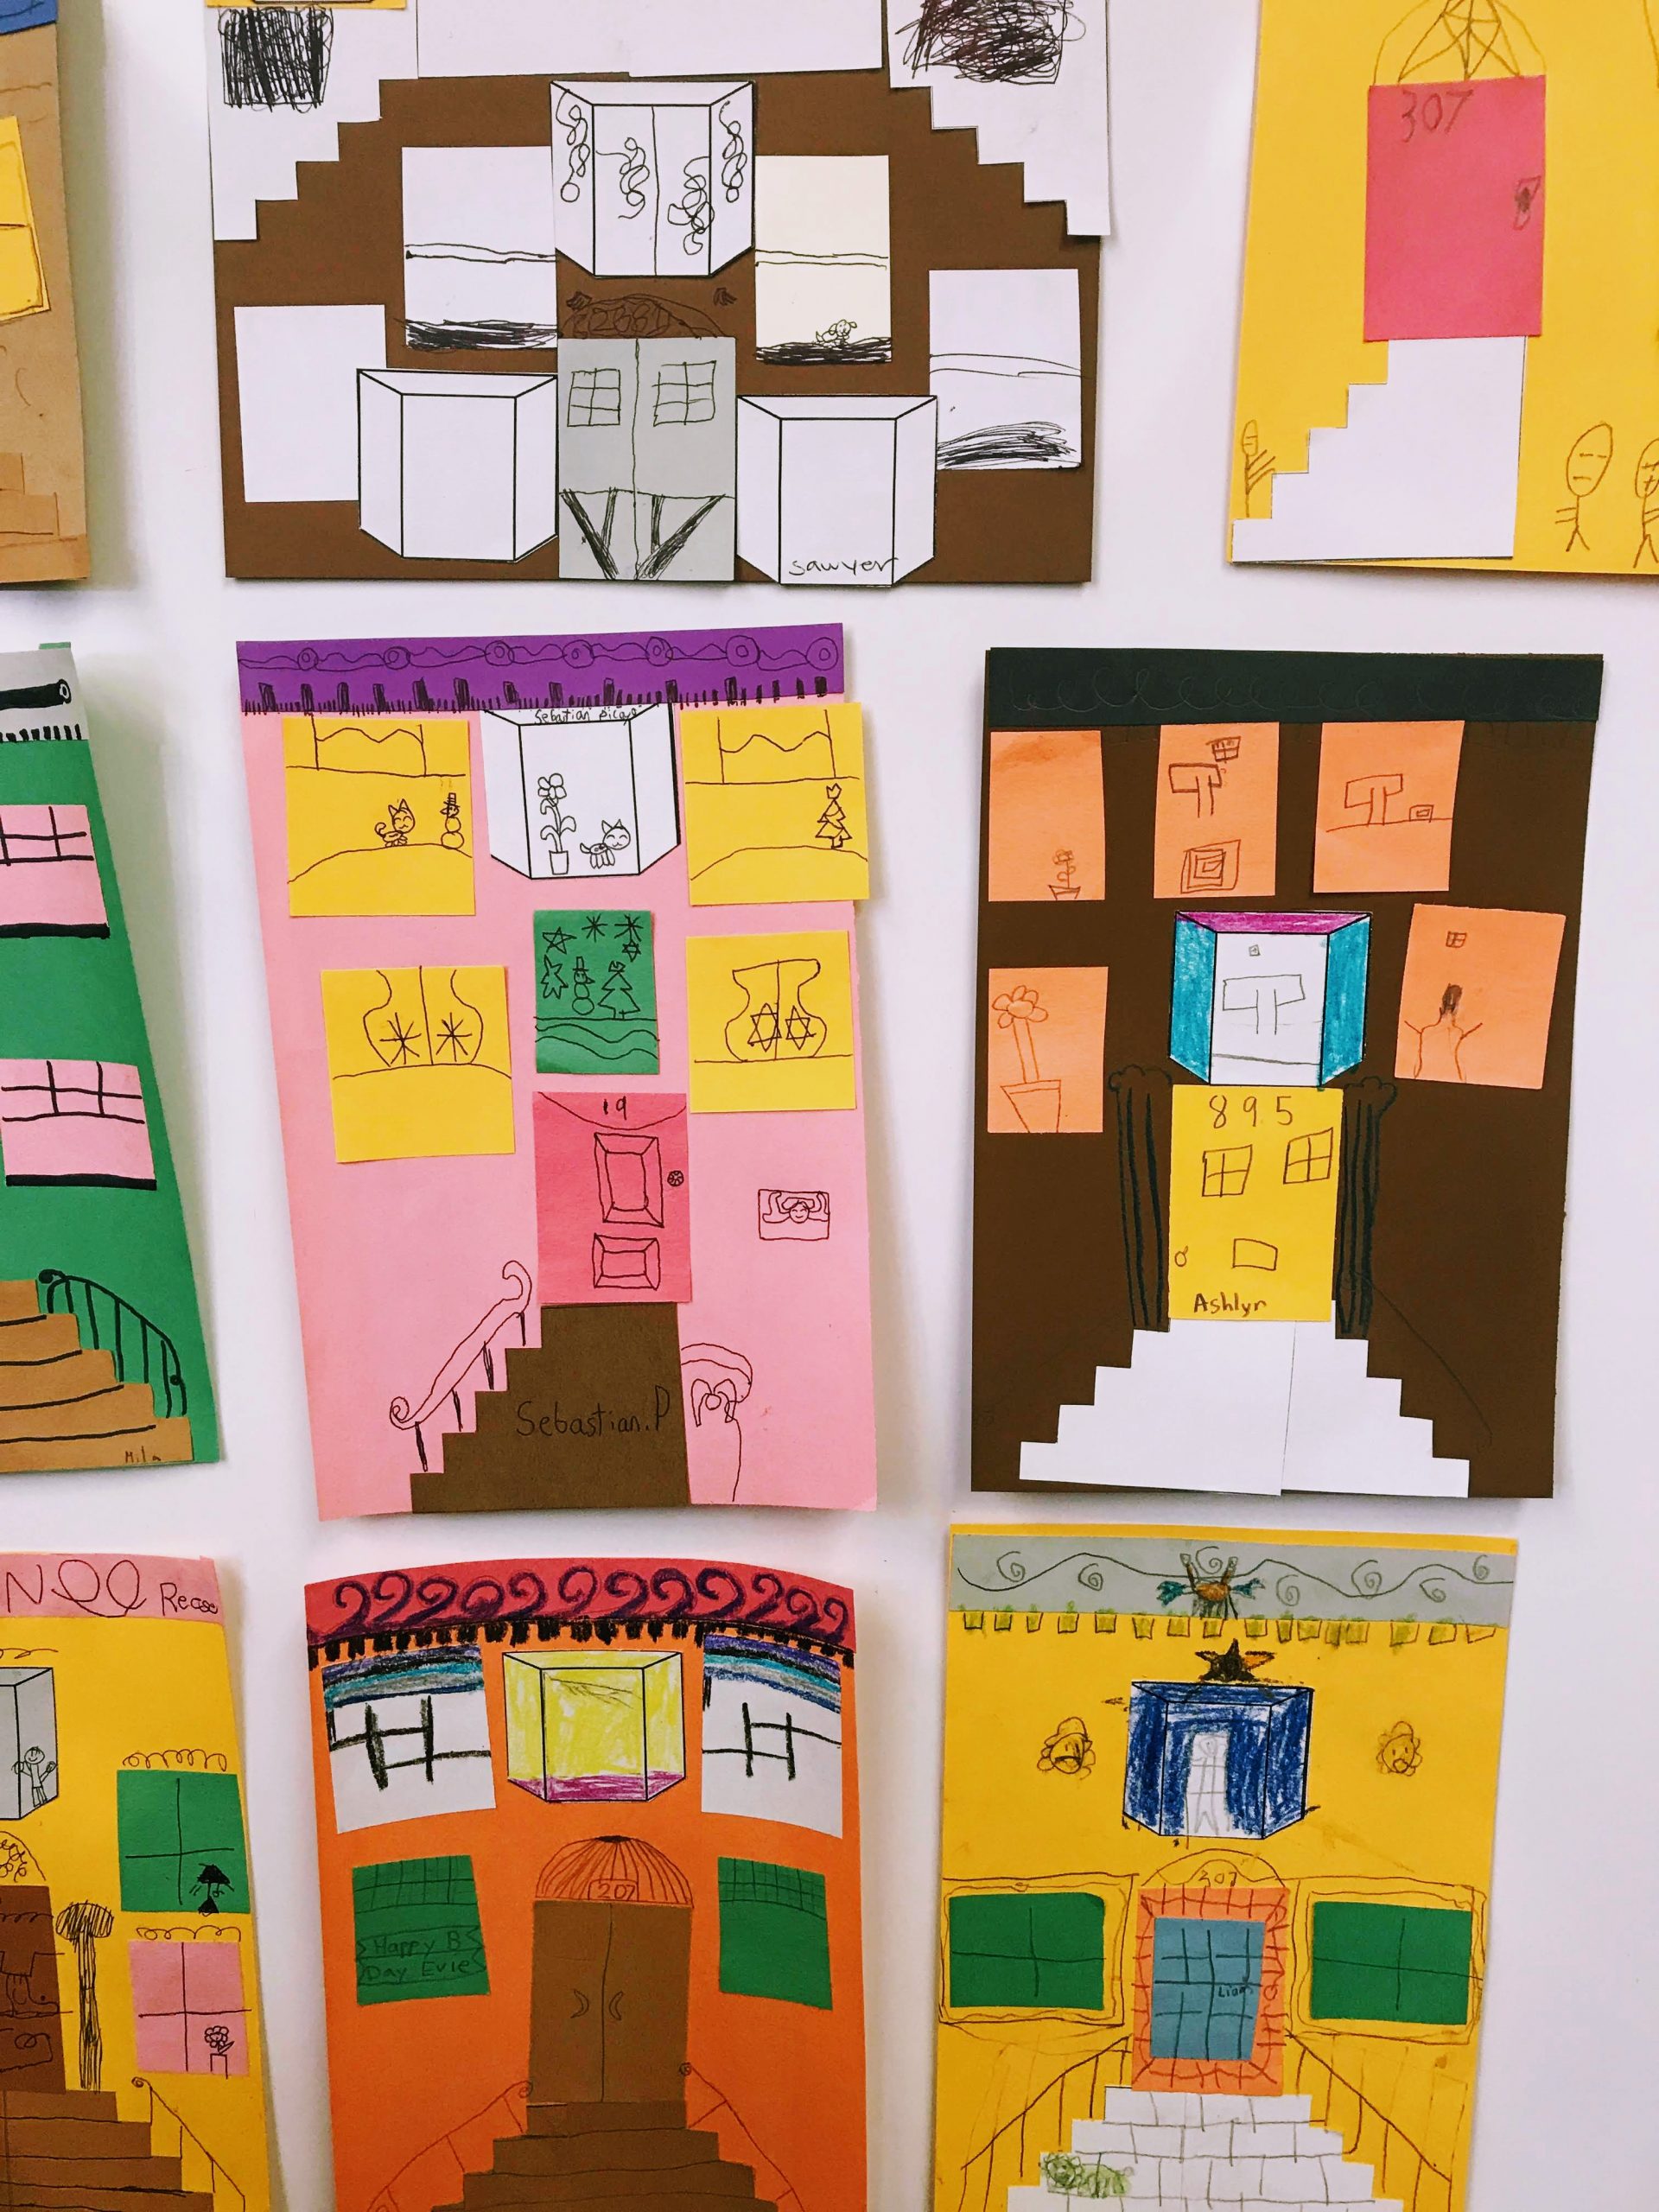
When we come to your classroom we bring ALL the materials with us – paper for the facade, strips for the cornice, pre-cut stoops and bay windows, rectangles for windows and doors. At home we’ll have to be a little more creative and inventive!
Need some help? Follow these instructions! Making a Brownstone. This is how mine turned out:
We’d love to see your brownstones, so, if you’d like to, once you’ve done yours you can send them to us here at LandmarkWest! at education@landmarkwest.org or share your creations with us using the hashtag #kpf @landmarkwest on social media.
More Workshops

To inquire about having your school partner with Keeping the Past for the Future, please contact
Shannon Hill LANDMARK WEST! education@LandmarkWest.org 45 West 67th Street New York, NY 10023